

DIY Home Decor Projects: Which Ones Actually Pay Off?

Open with the gap between online tutorials (which make everything look effortless) and real execution. Introduce the core question—not all DIY projects are equal—and preview that the article will help readers choose based on their budget, skill level, time, and living situation rather than following trends blindly.
Why Some DIY Decor Projects Feel Like a Waste of Time
The internet has trained us to believe that any room can be transformed with $30 and a weekend. That’s not entirely wrong, but it misses the part where most DIY home decor projects quietly fail because no one warned you about what actually goes into them.

Projects that look simple online but hide hidden complexity
A floating shelf is the perfect example. You see someone installing one in a single Instagram reel, and suddenly you’re hunting for studs with a stud finder at 7pm on a Tuesday. The reality is that proper floating shelves require level mounting, correct weight ratings for your wall type, and often hidden brackets that don’t show but absolutely matter.
Paint projects carry their own traps. An accent wall in eggshell looks nothing like one in matte once the sun hits it at different angles throughout the day. Satin finishes on trim can look streaky if you skip a second coat. The
How to Match a Project to Your Actual Skill Level
The biggest mistake people make with DIY home decor projects is picking something that looks effortless on Instagram and then spending three weekends wrestling with it. A project can be worth doing even if it stretches your abilities, but you need to calibrate the difficulty before committing time and money.
Beginner-friendly picks that won’t frustrate you
Start with projects where the margin for error is forgiving. Painting an accent wall is a classic entry point because mistakes are easily corrected—unlike tiling or carpentry, a patch of uneven paint doesn’t require tearing anything out. You can experiment with finish types (matte hides imperfections better than satin) and still end up with something that looks intentional rather than amateur.
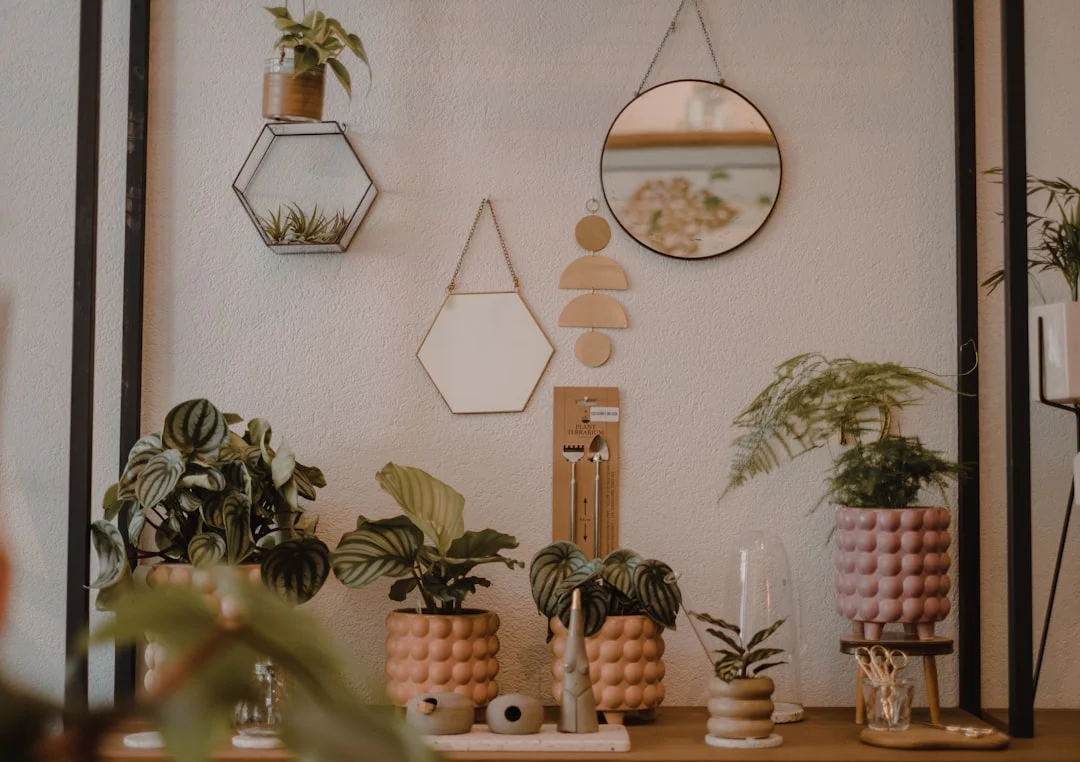
Similarly, DIY decor without power tools is entirely achievable for most people. Reclaimed wood wall art, fabric-covered bulletin boards, and simple textile swaps like curtains or throw pillows demand almost no specialized equipment. These are also rental-friendly home decor DIY options because they don’t require permanent changes to your space.
What makes a project beginner-appropriate:
- The materials are readily available at big-box stores
- You can complete it in one or two days without rushing
- A single mistake doesn’t ruin the entire piece
- The tools required cost less than the project itself
Mid-level projects worth the learning curve
Once you’ve tested the waters, mid-level projects like floating shelves, painted furniture, and basic lighting fixture swaps deliver more visible impact. These require a drill, a level, and some patience with measurements—tools most people own but rarely use.
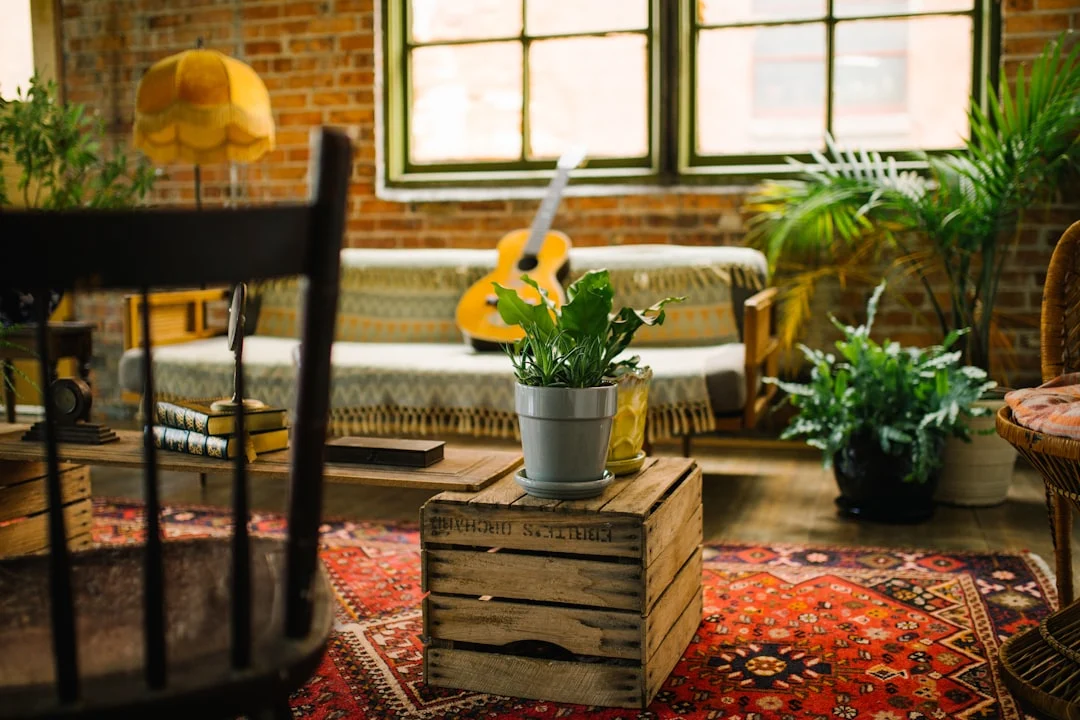
The key difference between beginner and mid-level work is that mid-level projects demand precision. A shelf that’s off by half an inch will look crooked once you step back. Furniture painting requires stripping or sanding first, and lighting swaps involve turning off power at the breaker (which sounds scarier than it is). But the return on investment is worth the effort because these projects often replace items that would otherwise cost hundreds to purchase professionally.
Consider a mid-level project if you:
- Have already completed one or two beginner projects successfully
- Own or can borrow a drill, level, and basic hand tools
- Are comfortable following instructions that go beyond “glue this to that”
- Can commit four to six hours for a single session without rushing
Common tool gaps and what to borrow or buy
You don’t need a full workshop to tackle the best DIY home decor projects you can do this weekend. Identify the tools specific to your project before purchasing anything. A paintbrush set costs around $20 and lasts for years. A basic drill with a few bits runs $40 to $60 if you buy one, or nearly free if a neighbor lets you borrow theirs.
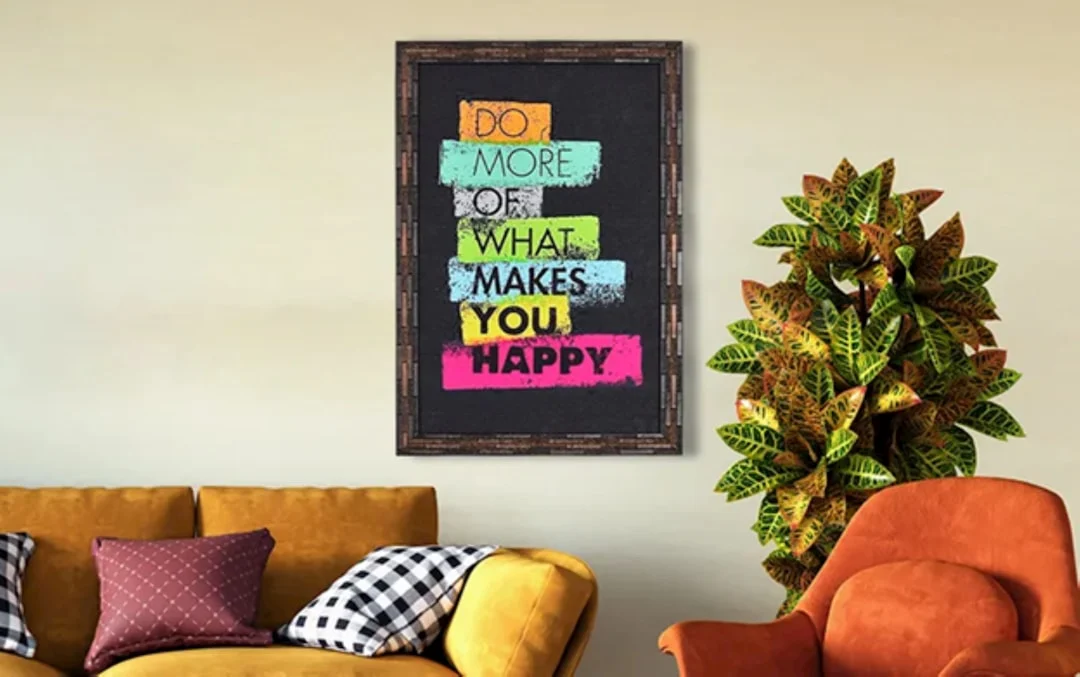
Here’s what most people underestimate:
- A level—$10 at any hardware store. Projects that look professional almost always use one.
- Masonry anchors—essential if you’re hanging anything heavier than a picture frame on drywall without hitting studs.
- Sandpaper and painter’s tape—cheap supplies that make the difference between “DIY looking” and “I did this myself. I’m proud of it.”
If you’re renting, invest in a good drill (it doubles as furniture assembly tool) and skip power tools you’ll use once. A circular saw or miter saw might seem necessary for reclaimed wood projects, but many hardware stores offer weekend rentals for $10 to $20. That’s cheaper than buying a tool that will sit in your garage for two years.
The goal isn’t to accumulate tools—it’s to match the right project to what you already have or can reasonably acquire. A simple DIY home decor idea using reclaimed wood is far more satisfying when you’ve got the tools to cut it cleanly. A weekend home decor project involving paint looks professional when you’ve invested in tape and a level. Calibrate your expectations, and your time and money will pay off.
Paint Projects: Matte vs Eggshell vs Satin (and Which Room Suits Each)
Choosing the right paint finish is one of those decisions that quietly determines whether your DIY home decor projects look like a weekend craft or an actual renovation. The difference between matte, eggshell, and satin isn’t just about sheen — it’s about how well each finish handles the specific wear patterns in different rooms.
Durability Trade-offs by Room Type
Matte paint is what most people picture when they think “modern.” It absorbs light, hides imperfections beautifully, and gives walls a velvety depth that makes accent walls look intentional rather than accidental. The catch? Matte finishes show every smudge, scuff, and handprint like a magnifying glass on fingerprints. In bedrooms and formal living rooms where foot traffic is minimal, matte is your best friend. In hallways, kids’ rooms, or entryways where elbows and backpacks collide with walls daily, matte will demand more touch-ups than you’d expect.
Eggshell sits in the middle — and that’s not a coincidence. It offers enough sheen to wipe down without looking like plastic, while still softening wall textures better than satin. For DIY home decor projects on a budget, eggshell is the Swiss Army knife of finishes. A single gallon can transform a dated rental bedroom from boxy to finished, and you won’t need a second coat unless you’re going dark. The name comes from its resemblance to an actual eggshell’s subtle luster, which is exactly why it works so well in rooms with mixed lighting — it doesn’t compete with overhead fixtures or floor lamps.
Satin has the highest sheen of the three and the most durability. It handles scrubbing like a champion, resists moisture better, and hides years of family life without looking flat. But that same sheen can be unforgiving if your walls aren’t perfectly smooth — every nail pop, patch job, or uneven drywall seam becomes visible under satin’s reflective surface. This is the finish you want for kitchens, bathrooms, and high-use living areas where you’re willing to invest extra time in wall prep upfront.
When a Bold Color Is Worth the Extra Coats
A bold color on an accent wall can change how an entire room feels — navy behind a sofa, deep forest green in a dining nook, warm terracotta in a bedroom. But darker and more saturated colors demand more paint than you’d think. One coat of deep blue over white drywall often looks patchy and thin. Two coats are standard. Three might be necessary if you’re covering a yellowed wall or switching from light to dark.
The rule of thumb: every time you darken your color by one full shade on the paint chip, add approximately 10% more paint per coat. A gallon that covers 350 square feet with two coats might need three coats when you’re going from white to a rich charcoal. The cost is real — paint itself at $40-60 per gallon, plus the time cost of an extra weekend morning. But here’s what most budget decorators get wrong: buying a smaller sample pot first and painting a 2×2 foot test patch on your actual wall. Colors shift dramatically depending on your existing lighting, furniture tones, and even the undertones in your walls. A $6 sample that saves you from repainting twice pays for itself ten times over.
Paint Cost per Square Foot for Accent Walls
If you’re trying to decide between DIY home decor projects for beginners and professional installation, paint is where the math works most clearly in your favor. A standard accent wall measuring 10 feet wide by 8 feet tall covers 80 square feet. With two coats of mid-range interior paint at $35 per gallon (each covering roughly 350 square feet), you’re looking at about $20 in paint and maybe an hour of prep time for taping, priming if necessary, and cleanup.
Compare that to hiring a pro: most painters charge between $1.50 and $3 per square foot for labor and materials on accent walls alone. That’s $120-240 for the same wall you could do yourself for under $25. Even when you factor in tool costs — a good roller set runs $15, painter’s tape $8, a drop cloth is free if you have an old sheet — DIY home decor projects using paint still deliver 70-90% cost savings versus professional work.
The real question isn’t whether paint is worth it. It’s whether your particular project justifies the time investment. A weekend spent painting one accent wall in a spare bedroom or living room gives you visible, lasting impact at a fraction of what furniture upgrades or custom built-ins would cost. And unlike more complex DIY home decor projects that require power tools or carpentry skills, paint is genuinely beginner-friendly — even if your first coat isn’t perfect, the second one usually covers everything.
Rental-Friendly DIY Decor Without Permanent Damage
Peel-and-stick alternatives that actually last
The biggest fear renters have is choosing a project that looks temporary within weeks. Peel-and-stick wallpaper and vinyl tiles solve this, but not all products are created equal. The thin, cheap varieties from big-box stores will peel at the edges after six months or so—especially in kitchens where steam and heat do their damage. Spend on brands like RoomMates, Brewster, or Fabricut for anything you want to keep through a lease renewal.
For flooring, look for thick-backed vinyl tiles (at least 2mm) with a rigid core. They handle foot traffic better and won’t shift around the way thinner options do. Installation is straightforward—clean, dry, level your floor first—and removal means peeling slowly at a corner while holding the sheet flat against the surface to avoid tearing up old flooring underneath.
Command strips vs nails: when to use each
The debate over Command strips versus small nails has been ongoing for years. The answer depends on what you’re hanging and how much weight it carries. For lightweight items like frames under five pounds, fabric art, or decorative plates, Command strips work reliably. Hang them properly—press for 30 seconds after placement—and the adhesive holds through normal humidity changes.
For heavier wall art, mirrors over fifteen pounds, or floating shelves, go with nails. Yes, you’ll make holes. But small nail holes (use picture-hanging nails, not drywall screws) are landlord-approved in most leases and require minimal patching when you move out. The key is knowing your wall type: plaster holds nails better than drywall, which means larger items on plaster walls may need toggle anchors instead of simple nails.
Budget-friendly lighting swaps renters can do themselves
Changing light fixtures sounds intimidating but is often the easiest DIY project for renters because most fixtures attach to existing electrical boxes. The hardest part is removing the old fixture—usually three small screws holding it in place and two wire connections that loosen with a screwdriver. If your rental has standard box sizes, you can shop at HomeGoods or Wayfair for modern pendant lights, chandeliers, or sconces starting around $40 to $80 per fixture.
For renters who don’t want to touch wiring at all, consider plug-in options. Many contemporary chandeliers and pendants now come with standard cord plugs that fit into existing outlets. You’ll need an outlet within reach of your fixture location, but the result looks just as polished as a hardwired installation. This approach works especially well for kitchen islands or areas where ceiling boxes are positioned away from convenient outlets.
The Hidden Costs Most DIYers Overlook
Most people budget for the obvious stuff—the paint, the fabric, maybe a new light fixture. The real expense tends to hide in the margins, and it’s where DIY home decor projects either come out ahead or quietly bleed your wallet dry.
Material Waste: How Much Extra to Buy
Laying down a weekend project on paper is one thing; buying the materials is another. Paint cans are sold by volume, but coverage depends on wall texture, number of coats, and whether you’re priming—something most first-time accent wall DIYers forget until they’re staring at a second coat that won’t match.
Fabric projects follow a similar pattern. A reclaimed wood shelf might call for three boards cut to 24 inches each, but if your lumber is warped or has knots in the wrong spot, you end up buying five and tossing two. Same with curtains: online calculators recommend adding 30 percent extra for pleating and hemming, which means your fabric bill can jump from $60 to over $80 without much visible change.
The practical rule of thumb? For any DIY home decor project you’re planning, buy at least 15–20 percent more material than your calculator says. If you want better accuracy, grab a sample board or swatch and do the full test before committing.
Time Estimation: Why ‘Weekend’ Becomes a Week
Project timelines are where DIY budgets get stretched most often—not in dollars, but in opportunity cost. A floating shelf installation might look like a three-hour task on YouTube, but the reality is more like this:
- Measuring and marking (45 minutes)
- Drilling pilot holes and checking levelness (30 minutes)
- Assembling brackets or hardware (20 minutes)
- Waiting for adhesive to cure before hanging anything heavy (several hours, often overnight)
- Cleanup, touch-ups, and second-guessing whether the shelf is too low (30 minutes)
When you stack that against a Saturday morning start and an unexpected trip to the hardware store for missing screws, suddenly your weekend project has bled into Monday evening. For renters doing rental-friendly home decor DIY—things like removable wallpaper or peel-and-stick backsplash tiles—the cure time is even longer because you can’t hang anything until the adhesive sets fully.
Plan on a full day for any decor task that requires drying, curing, or waiting between steps. If your project has multiple phases (like painting, sanding, and staining reclaimed wood), budget one phase per day rather than trying to cram them into a single weekend.
When Tool Rental Saves More Than Buying New
The tools you need depend heavily on which DIY home decor projects for beginners you choose. A paint sprayer sounds impressive, but unless you’re doing multiple rooms or large accent walls with consistent coverage, a roller and brush set will do just as well—and costs less than the rental fee.
Here’s where renting makes sense:
- Circular saw or miter saw for cutting reclaimed wood shelves or trim—renting runs $15–$40 per day versus $80+ for a basic new model
- Drill/driver with bits if you’re building something that requires frequent screwing, like wall art frames or floating shelves
- Power sander for large surface areas where hand sanding would take hours instead of minutes
- Wallpaper steamer if you’re stripping and reapplying wallpaper in a rental and don’t want to commit to owning one tool for one project
The key decision criterion is frequency. If you’re planning multiple decor projects over the next year, buying certain tools makes sense. But if you’re doing simple DIY home decor ideas using reclaimed wood or textiles and only need a drill once every few months, renting saves both money and storage space.
Hidden Costs You Should Factor Into Your Budget
Beyond materials and tools, there are smaller expenses that add up quickly:
- Hardware upgrades — The brackets or hooks included with a kit often aren’t rated for heavy loads. Upgrading to heavier-duty anchors for drywall can cost $5–$10 per installation.
- Finish products — Primer, sealant, varnish, and fabric protectors are rarely included in the base price of your materials but affect durability significantly.
- Disposal fees — If you’re removing old wallpaper or trimming excess wood, some hardware stores charge for waste disposal.
- Lighting changes — A new pendant light might cost $50, but if your existing wiring doesn’t support the weight or requires a new switch plate, add another $15–$25.
The bottom line: when you compare how much DIY home decor costs versus hiring a pro, remember that the pro’s quote usually includes materials, labor, and cleanup. Your DIY budget should reflect the same scope or you’ll end up comparing apples to oranges.
End with a practical decision prompt: ask readers to pick one room and one budget range, then match it to the most suitable project type from the article. Include a link to a printable cost-comparison chart or a free project-planning template.
Related posts:


Tagged: Budget-friendly Home Decoration Ideas, DIY Decor Without Power Tools, DIY Home Decor Projects, DIY Home Decor Projects For Beginners, Easy DIY Home Decor With Paint, Home Decor, Rental-friendly Home Decor DIY, Weekend Home Decor Projects